
The first time I harvested honey, I did everything wrong. I pulled frames that weren’t fully capped, didn’t test the moisture, and — worst of all — I took way more than I should have and left my bees short going into a cooler stretch of weather. They survived, but it was closer than I’d like to admit, and it taught me that harvesting honey isn’t really about timing your own schedule. It’s about reading the hive.
If you’re standing in your apiary right now wondering whether this is the week to pull supers, you’re definitely not alone. It’s probably the single most common question I get from newer beekeepers every summer. So let’s go through it properly — what to actually check, not just “when it feels right.”
The Capped Frame Test (Your First and Most Important Check)
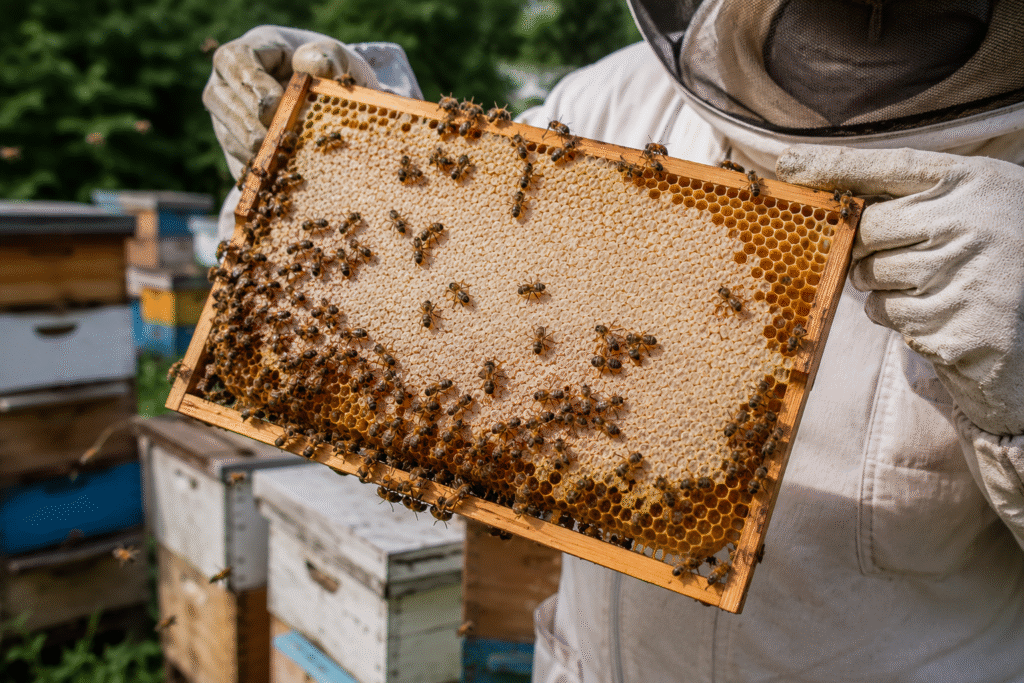
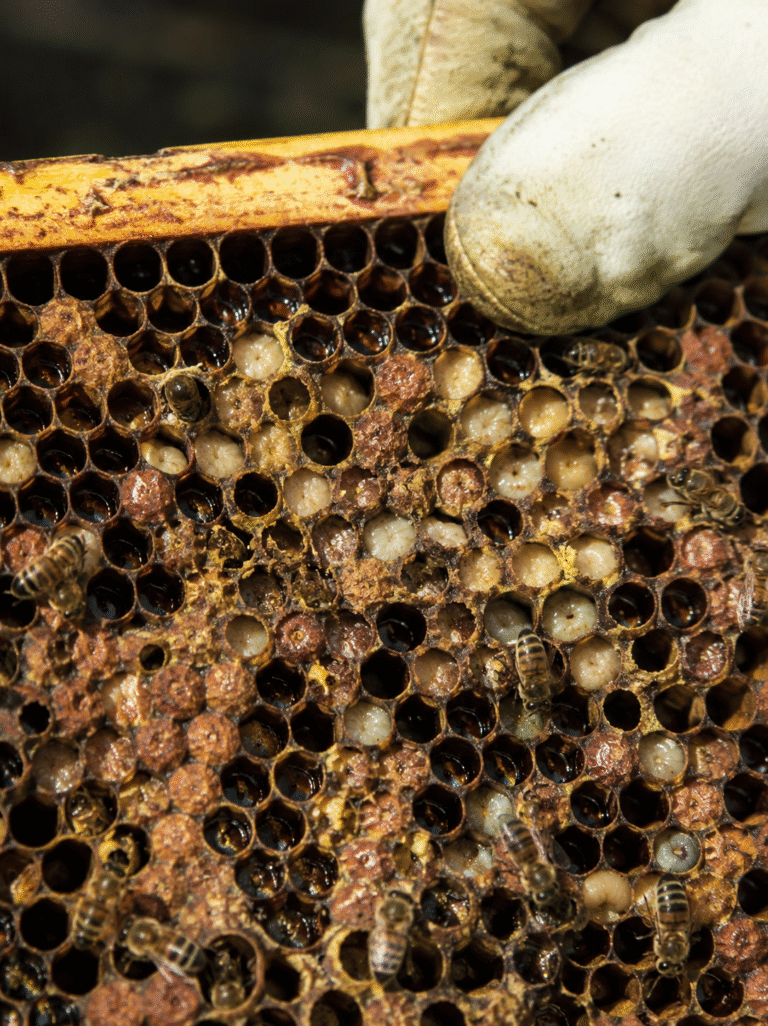
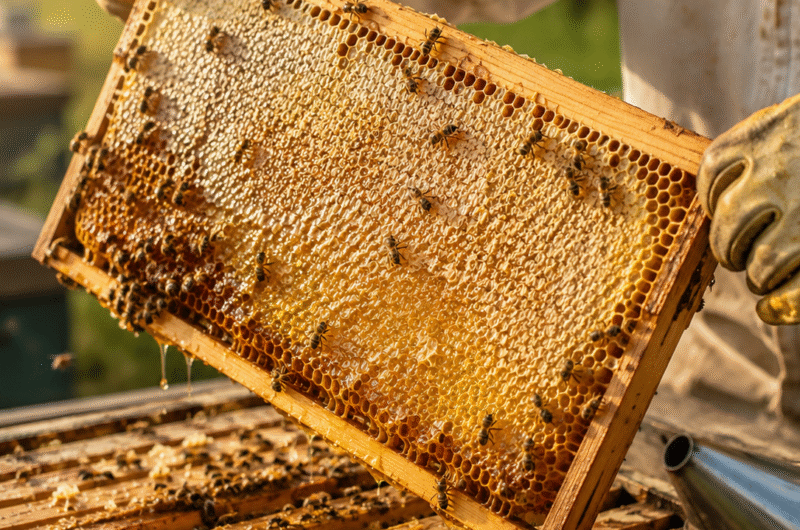
Bees cap honey with wax once it’s cured down to a safe moisture level — generally under 18.6% — at which point it won’t ferment in storage. That capping is essentially the bees telling you, “this one’s ready.” So the rule of thumb that gets repeated everywhere is genuinely solid: don’t harvest a frame until at least 80% of it is capped.
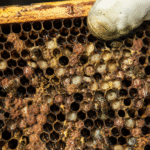
Here’s the part that doesn’t get said enough though — uncapped doesn’t automatically mean unripe. Bees sometimes leave a thin uncapped strip along the edges of an otherwise finished frame. What you’re really watching for is large patches of open, wet-looking cells in the middle of the frame. That’s unripe nectar, and pulling it means risking honey that ferments in the jar a few weeks later. I had exactly that happen with one impatient harvest — a jar that looked perfect on the shelf started fizzing within a month. Not a fun discovery.
The Shake Test (When You Don’t Have a Refractometer)
If you don’t own a refractometer — and most backyard beekeepers don’t starting out — there’s a low-tech trick that’s been passed down for generations: hold the frame horizontally over the hive and give it a firm, sharp shake. Ripe honey, cured down to the right moisture, stays put in the comb. If liquid sprays or drips out, it’s telling you the moisture content is still too high and the bees aren’t done with it yet.
It’s not as precise as a refractometer reading, but it’s saved me from a few premature harvests over the years, and it costs nothing.
Timing: Why “When” Matters as Much as “How”
Harvest timing depends heavily on your region and what’s blooming, but there are a few signals that consistently mean it’s time:
- The main nectar flow has slowed or stopped. This is usually mid-to-late summer in most temperate climates, once the big spring and early-summer bloom has passed.
- Supers are heavy and mostly capped, ideally checked across multiple frames, not just the one or two you can see without pulling anything.
- You’re harvesting in the morning, after the bees have had time to warm up and start foraging, but before the heat of the afternoon — this keeps the colony calmer and the honey easier to work with since it flows better when slightly warm.
One thing that trips people up: just because your nectar flow has ended doesn’t mean it’s safe to take everything. The honey sitting in your supers right now might be exactly what your bees are counting on to get through a dearth later in the season, or through winter if you’re harvesting late. As a general guide, most beekeepers leave somewhere between 18 and 27 kg (40–60 lbs) of honey in the brood boxes for the colony, though the right number depends heavily on your climate and how long your bees go without forage. When in doubt, leave more than you think you need to — a colony that starves because you got greedy with the extractor is a much worse outcome than a few extra jars you didn’t get to keep.
Getting the Bees Off the Frames Without a Fight
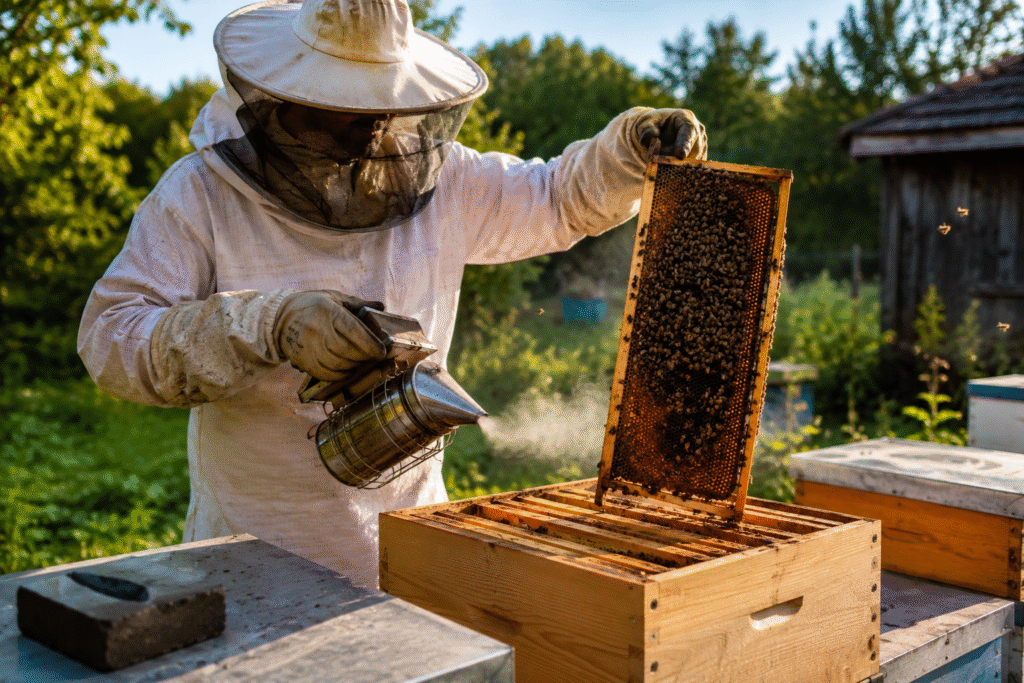
This is the step that turns a calm afternoon into a chaotic one if you’re not prepared. A few methods that actually work without stirring up a full-blown defensive response:
A bee brush, used gently, works fine for small operations — just don’t be rough about it. Bees notice aggressive brushing and respond to it.
A bee escape board, placed a day or two before harvest, lets bees leave the super and funnel down into the lower boxes, but stops them from coming back up. It takes more patience, but it’s about as low-stress for the colony as harvesting gets — I use this method whenever I’m not in a rush.
Light smoke at the entrance and around the super edges before you start can also help keep things calm, though it’s not a substitute for moving carefully and not crushing bees as you work.
What you want to avoid is leaving supers off the hive for long stretches in the open air on a hot day — exposed honey draws attention fast, and a nearby weak hive or even wasps can turn a simple harvest into a robbing situation within the hour.
After the Harvest: Don’t Skip This Part
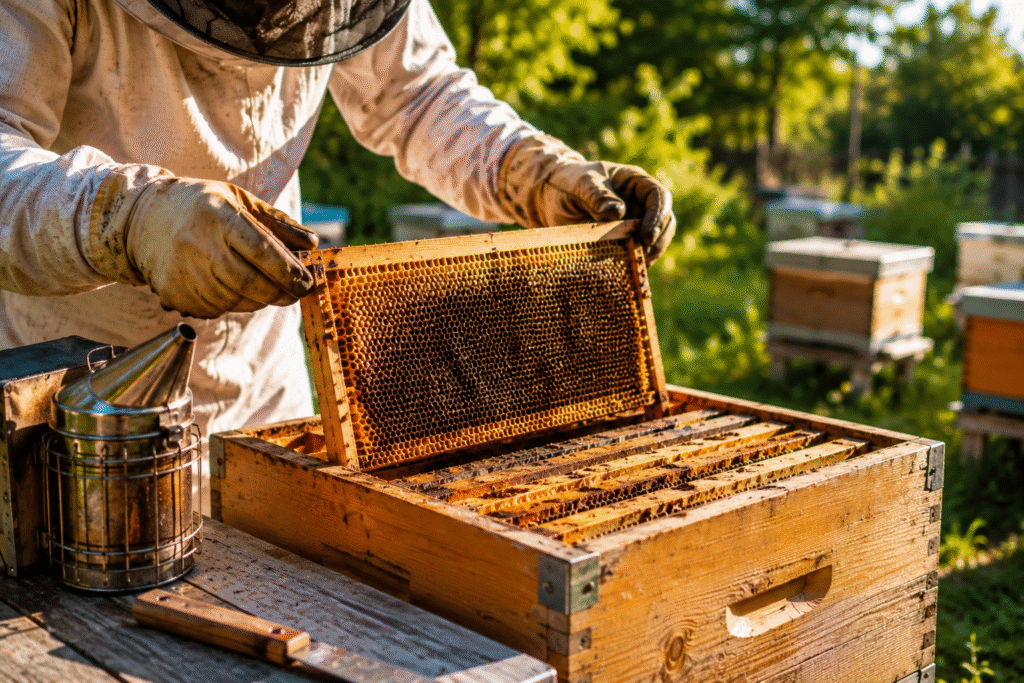
Once you’ve extracted, give the empty, sticky frames back to the bees for a day or two so they can clean up the residual honey — they’ll do it far more thoroughly than you could, and it saves the wax for reuse. Just put the supers back on in the evening, ideally a bit away from the hive entrance or stacked loosely, to avoid triggering a robbing frenzy as every bee in the area smells fresh honey at once.
The Real Lesson
Honey harvesting isn’t a single event you schedule on a calendar — it’s a conversation with your hive that happens over the whole season. The frames will tell you when they’re ready if you check them properly, and your bees will tell you how much they actually need if you pay attention before you reach for the extractor. Take the time to get both of those right, and you’ll end up with honey that’s better quality and a colony that’s set up to thrive long after harvest day is over.