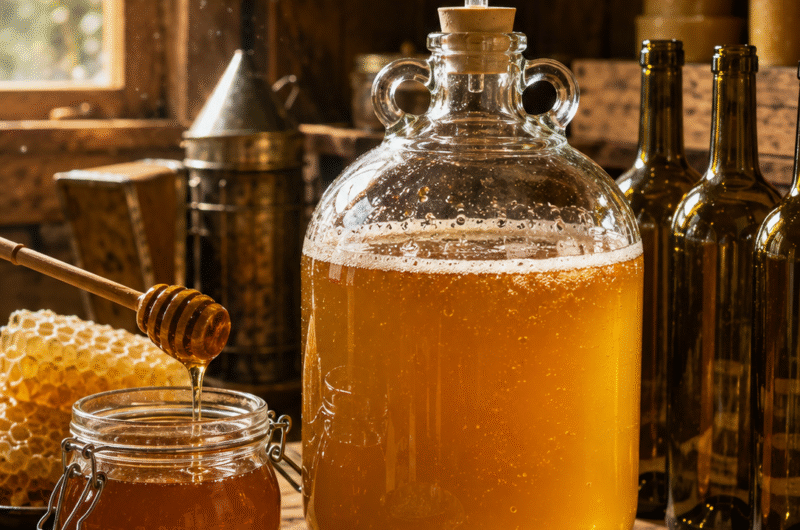

The first time I watched a batch of mead actually take off — really bubbling, that steady, hypnotic glug through the airlock every few seconds — I remember thinking it looked almost exactly like watching a hive on a good nectar flow. Steady, purposeful, a little bit alive. That’s not a coincidence. Mead is, in a very real sense, the second act of the same story your bees started when they turned nectar into honey. Yeast just finishes what the hive began.
I get asked more often than you’d expect whether mead-making is “real beekeeping” or just a hobby tacked onto the side. My honest answer: it’s one of the oldest continuous threads connecting humans and honey bees, going back further than written history. Fermented honey drinks have turned up in residue analysis on pottery dating to roughly 7000 BC in northern China, mixed with rice and fruit — older, in fact, than confirmed evidence of purpose-brewed grape wine. If you keep bees and you’ve never made a batch, you’re skipping one of the most direct ways to actually taste the character of your own hive’s forage.
Why Honey Choice Is the Whole Game
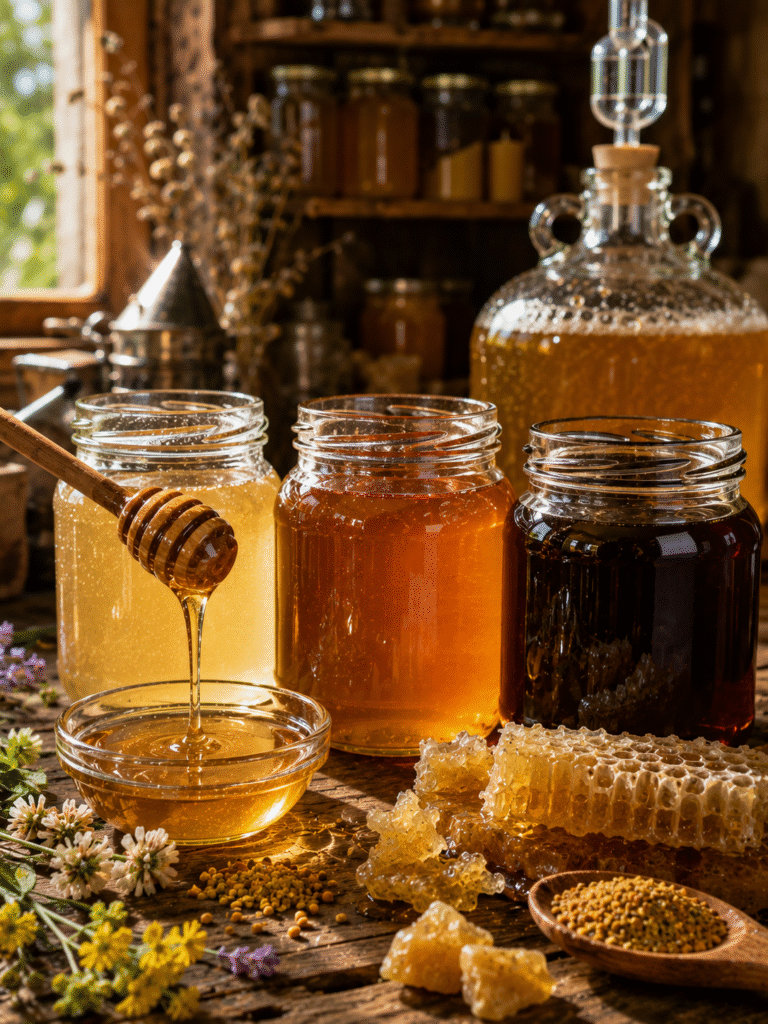
Here’s something a lot of beginner guides gloss over: in beer or grape wine, the base ingredient is heavily processed before fermentation ever starts. In mead, honey is the flavor. There’s nowhere to hide a mediocre honey behind hops or tannins. That means your choice of honey isn’t a minor decision — it’s the single biggest factor determining what your finished mead tastes like.
Light, mild honeys — clover, orange blossom, some wildflower blends — produce clean, approachable meads that let a beginner actually taste what “good technique” versus “bad technique” sounds like, because there’s less flavor complexity to mask fermentation flaws. Darker, more assertive honeys — buckwheat, some late-season wildflower or goldenrod honey — bring a lot more character to the glass, sometimes almost molasses-like, but they can also be a rougher ride for a first-time mead maker because those same complex compounds can produce more pronounced off-flavors if fermentation temperature or sanitation isn’t dialed in. My advice, and this comes from wasting a full batch of good dark honey on my second attempt years ago: start light, learn the process, then graduate to your more distinctive honey once you trust your technique.
If you’re using honey straight from your own extractor, raw and unheated, you’re working with something genuinely alive — wild yeasts, enzymes, trace pollen. Some traditional mead makers actually prize this for “wild mead” fermentation, letting ambient yeast do the work instead of pitching a commercial strain. It’s a beautiful, unpredictable process, but it’s also a real gamble; wild fermentation can stall, go sideways, or produce flavors you didn’t intend. For your first batch, I’d strongly recommend gently warming your must to reduce competing wild yeast and pitching a proper wine or mead yeast instead. You can chase the wild-fermentation rabbit hole once you understand what “on track” actually looks and smells like.
Equipment: Less Than You Think
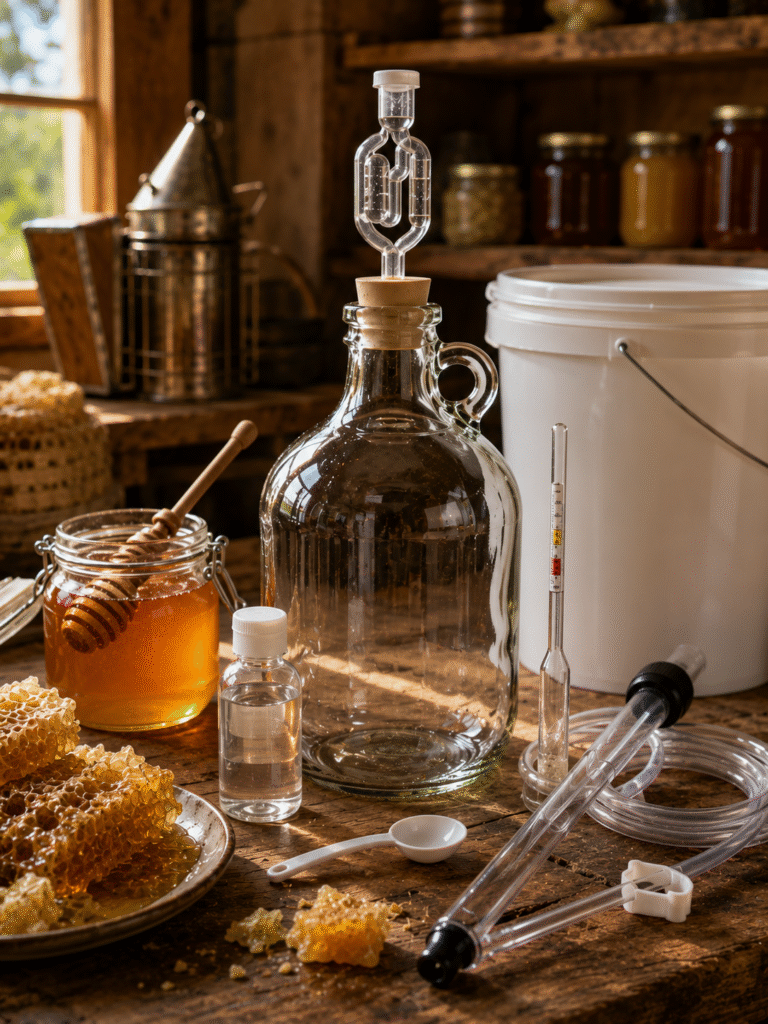
Mead has a reputation for requiring elaborate homebrew setups, and while you certainly can go that direction, your first batch doesn’t need much: a food-grade fermentation vessel (a simple one-gallon glass jug or a food-safe bucket works fine), an airlock and rubber stopper, a hydrometer if you want to track progress (optional but genuinely useful), a siphon for racking, and basic sanitizer. That’s it. I’ve talked to beekeepers who spent more on their smoker than their entire first mead setup.
The Process, Step by Step
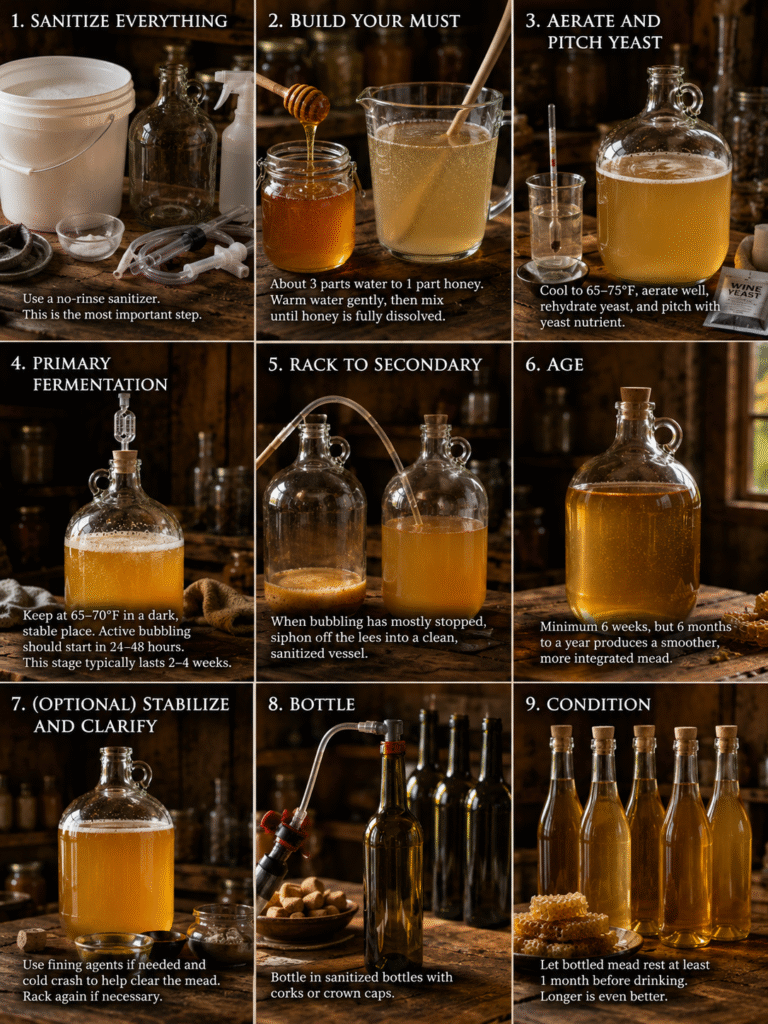
Sanitize everything. This is the single most important sentence in this entire article. Mead doesn’t fail because of bad honey or bad yeast nearly as often as it fails because of an unsanitized vessel introducing wild bacteria that outcompete your yeast and produce off-flavors or, worse, an infection you’ll smell the moment you crack the airlock. Don’t skip this step, don’t rush it, and don’t assume “it looked clean” is the same as sanitized.
Build your must. Combine honey and water in roughly a 3-to-1 ratio of water to honey by volume for a standard-strength mead — this gives you a starting gravity in the range most beginner recipes target. Warm the water gently before mixing in honey; it helps the honey dissolve fully and reduces competing wild yeast, but don’t boil it — high heat drives off the delicate aromatics that make your particular honey worth using in the first place.
Aerate and pitch your yeast. Once your must has cooled to roughly 65–75°F, give it a vigorous stir or shake to introduce oxygen, which yeast needs to establish itself before fermentation shifts to an oxygen-free process. Rehydrate your yeast per the packet instructions, then pitch it in along with a proper yeast nutrient — honey is nearly devoid of the nitrogen yeast needs to thrive, so skipping nutrient additions is one of the most common beginner mistakes and a leading cause of stuck or sluggish fermentation.
Primary fermentation. Cap with your airlock and set the vessel somewhere dark and temperature-stable, ideally 65–70°F. You should see active bubbling within 24–48 hours. This stage typically runs 2–4 weeks, and you’ll watch the bubbling gradually slow as the yeast works through the available sugar.
Rack to secondary. Once bubbling has mostly stopped, siphon the mead off the sediment (the “lees”) into a clean vessel, leaving the sludgy layer behind. This step matters more than beginners expect — mead left too long on heavy sediment can pick up unwanted off-flavors.
Age. This is the step that separates good mead from great mead, and it’s also the step most beginners rush. Secondary fermentation and aging should run a minimum of six weeks, but honestly, six months to a year produces a noticeably smoother, more integrated result. Mead rewards patience in a way few other home-fermented products do.
Bottle. Once clear and stable, bottle using sanitized bottles and corks or crown caps. Give bottled mead at least another month before drinking — longer if you can stand the wait.
The Flavor Variations Worth Knowing
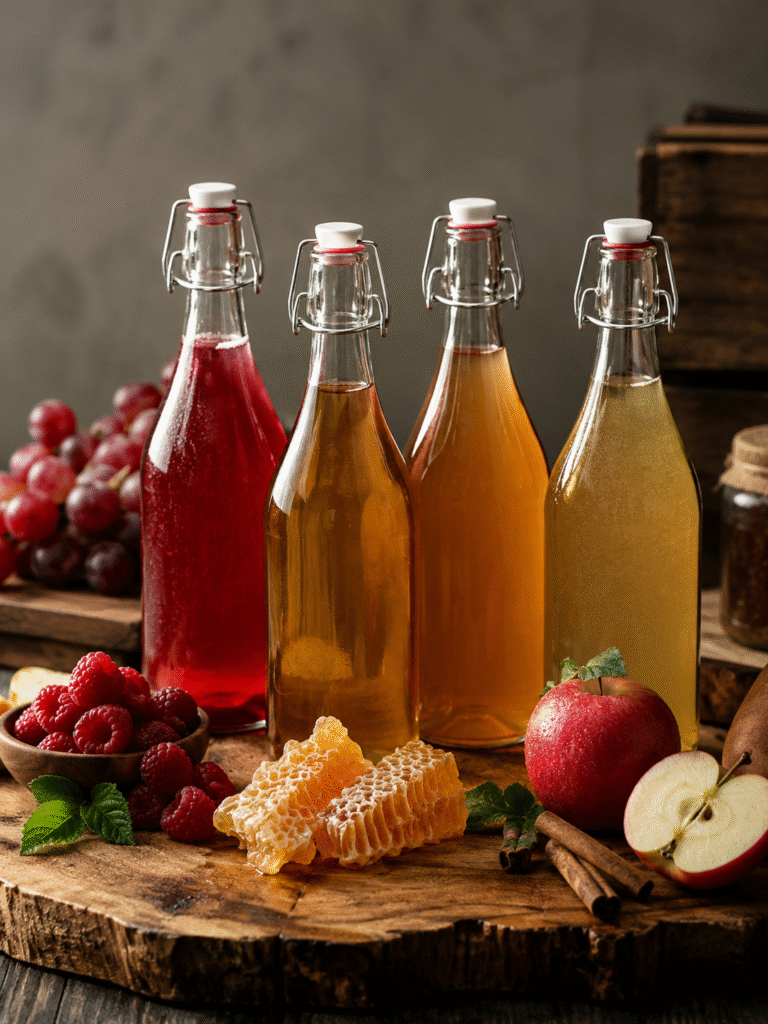
Once you’ve got a basic batch under your belt, the real fun starts. A melomel is mead fermented with fruit added — raspberry and mead is a classic, forgiving combination for a second batch. A metheglin incorporates spices like cinnamon, clove, or ginger. A cyser swaps some or all of the water for apple juice or cider, producing something closer to a honeyed hard cider. A pyment uses grape juice instead, landing somewhere between mead and traditional wine. Each variation changes not just the flavor but the fermentation behavior itself — fruit sugars ferment faster than honey alone, which means your timeline and gravity readings will shift depending on what you’re adding.
Common Mistakes I See Beginners Make
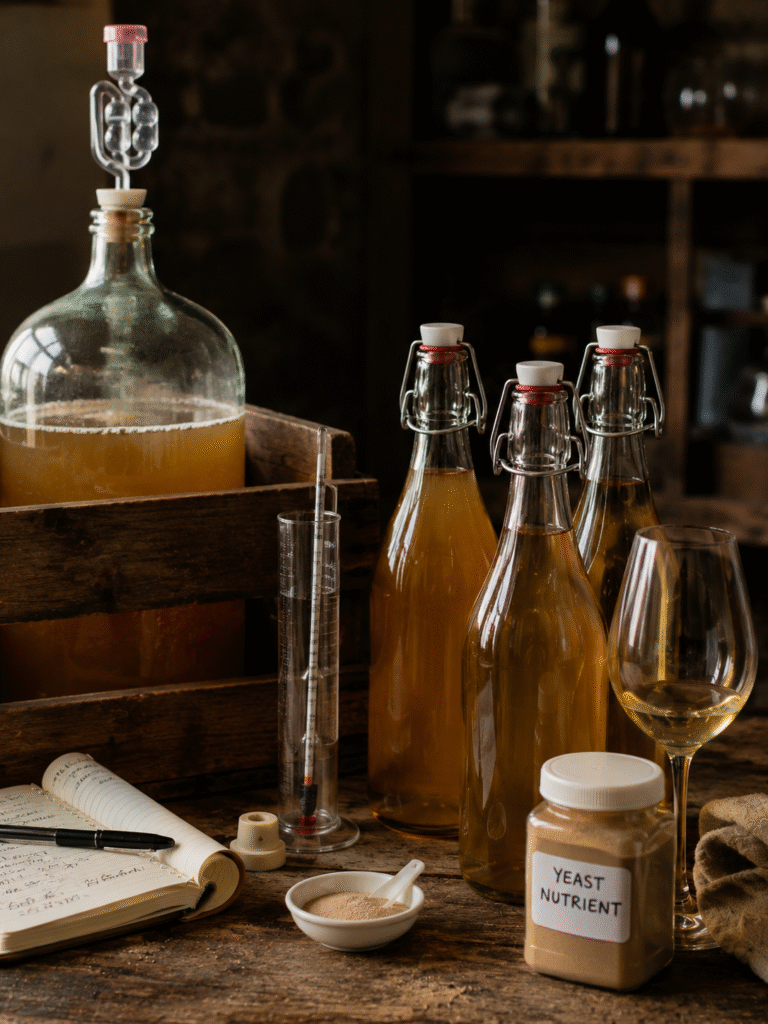
The most frequent failure isn’t technique — it’s impatience. New mead makers bottle too early, before fermentation has fully finished, and end up with bottle bombs or an unpleasantly yeasty, unfinished flavor. Close behind that is skipping yeast nutrient additions, which leaves you with a stalled fermentation that never quite reaches dryness and can develop sulfur-like off-notes as stressed yeast produces hydrogen sulfide. And the third, quieter mistake: judging a young mead too harshly. Mead genuinely needs time to round out. A batch that tastes harsh or hot at one month can taste completely different — smoother, more complex — at six.
Why This Belongs in Every Beekeeper’s Repertoire
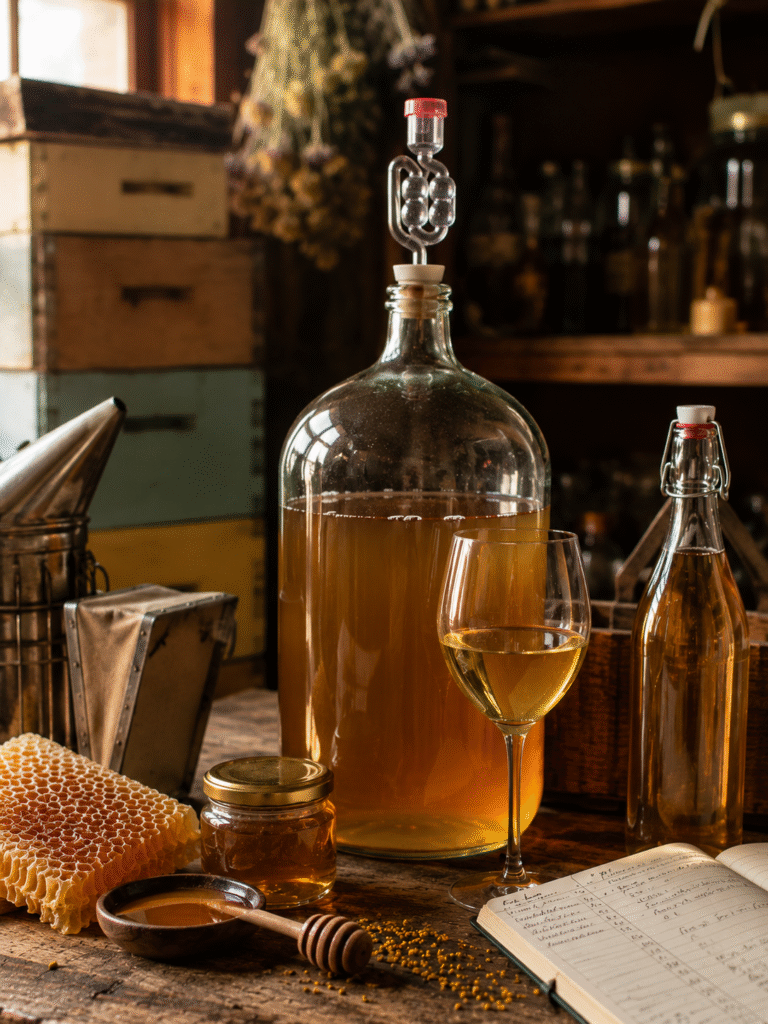
There’s something worth sitting with here: when you make mead from your own honey, you’re tasting a distilled record of everything your bees foraged that season — the clover, the goldenrod, whatever bloomed within their flight range during the weeks that honey was made. Store-bought honey can’t give you that same connection, because it’s usually blended across sources and seasons specifically to taste consistent. Your own extracted honey, fermented into mead, is closer to a vintage — a snapshot of one colony’s work in one particular stretch of time. That’s not marketing language. That’s just what it is.
Frequently Asked Questions
What honey is best for a first batch of mead?
A light, mild honey like clover or orange blossom is the most forgiving choice for beginners, since it produces a clean flavor that makes fermentation issues easier to identify and correct.
How long does homemade mead need to age?
A minimum of six weeks in secondary fermentation before bottling, and at least another month in the bottle — but six months to a year of total aging produces a noticeably smoother result.
Can I use raw honey straight from my own hive?
Yes, and many beekeepers prefer it, but gently warming the must first helps reduce competing wild yeast and gives you a more predictable fermentation for your first attempts.
Why did my mead turn out too sweet, or stall before finishing?
This is almost always a nutrient or temperature issue — yeast lacking sufficient nitrogen from proper yeast nutrient additions will stress and stop fermenting before all the sugar converts, leaving residual sweetness.
Is mead safe to drink young, right after bottling?
It’s technically drinkable, but young mead often tastes harsh, hot, or unbalanced. Most experienced mead makers consider anything under three months post-bottling “unfinished” in flavor terms.
What’s the practical difference between mead, melomel, metheglin, and cyser?
They’re all honey-based ferments distinguished by what’s added alongside the honey: melomel includes fruit, metheglin includes spices, and cyser substitutes apple juice or cider for some or all of the water.
A quick editorial note for readers: home fermentation of alcoholic beverages is legal in many places for personal use but regulated differently by region — check your local regulations before starting your first batch, and please enjoy responsibly.