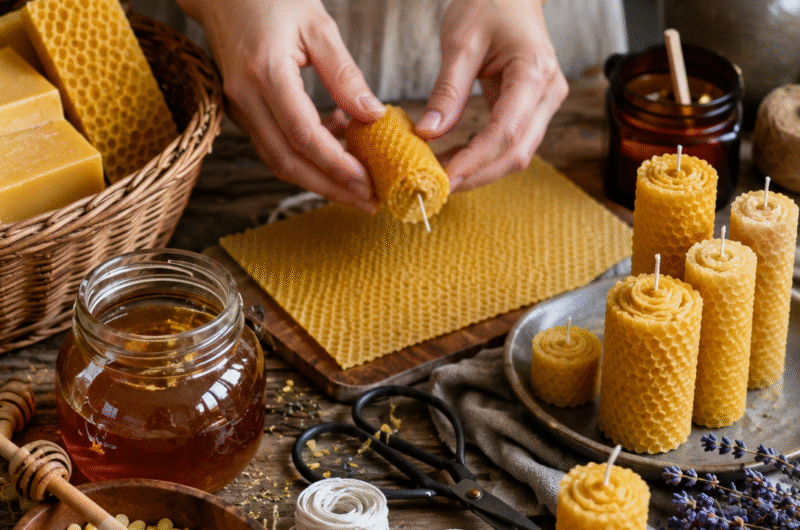

The first beeswax candle I ever poured cracked straight down the middle about four hours after I unmolded it. I’d cooled it too fast on a cold windowsill, proud of myself, completely unaware that beeswax has opinions about how it’s treated on its way from liquid to solid. That candle taught me more than any tutorial I’d read beforehand, and most of what I know now about candle making I learned the same way — by getting it slightly wrong and figuring out why.
Beeswax is a strange material to work with the first time, because it doesn’t behave like the paraffin most people grew up around. It’s stickier, it holds heat differently, and it genuinely does not want to leave a metal bowl once it’s cooled. But once you understand its personality, it’s one of the most forgiving crafts a beekeeper — or honestly, anyone with access to a bit of raw wax — can pick up.
Why Beeswax Beats Paraffin and Soy
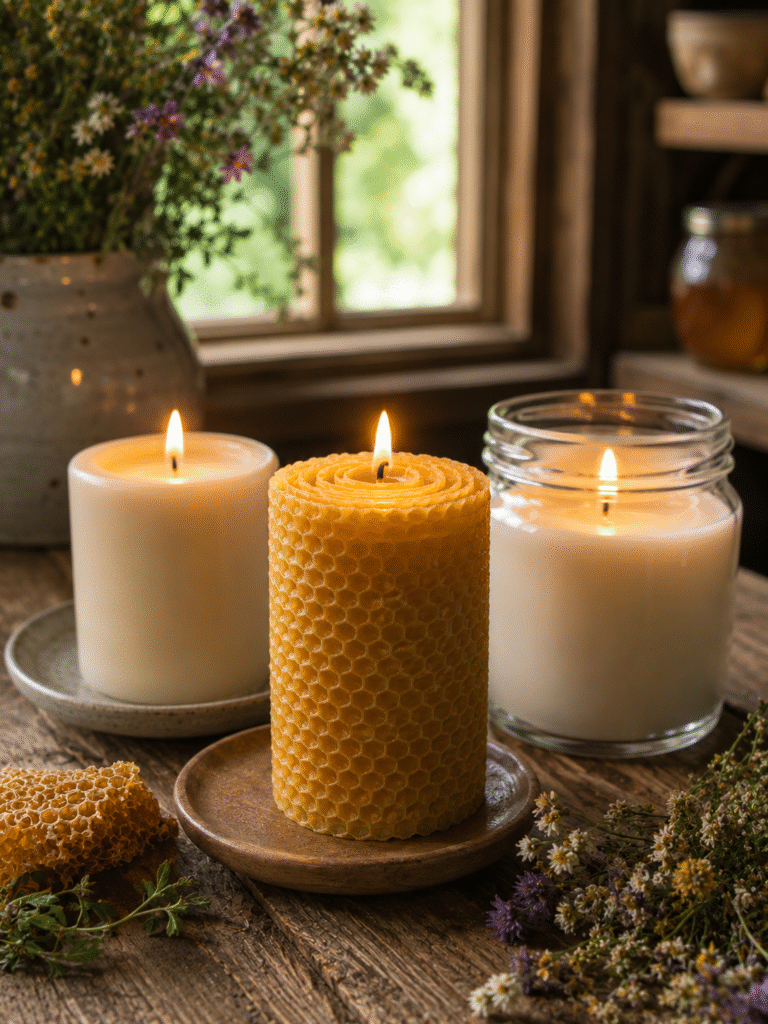
I keep candles from all three waxes in my house, mostly so I can compare them honestly rather than just repeating what beekeepers are supposed to say. The difference isn’t subtle. Beeswax candles burn cleaner and noticeably longer per ounce than paraffin, and unlike paraffin — which can release petroleum-derived compounds like toluene and benzene into the air as it burns — beeswax burns without introducing anything your body has to process that wasn’t already floating around your kitchen. You also don’t need to add fragrance oil to get a scent out of it. Pure, unbleached beeswax carries a warm, honeyed smell on its own, faint but real, especially once the candle’s been burning for a few minutes and the wax pool opens up.
The tradeoff is cost and scent strength. Beeswax is pricier than soy or paraffin, and it doesn’t hold added fragrance as well — if you want a candle that smells strongly of lavender across a whole room, beeswax will underperform a soy blend. But if you want something that smells like itself, burns clean, and looks genuinely beautiful in its natural gold color, nothing else compares.
What You Actually Need
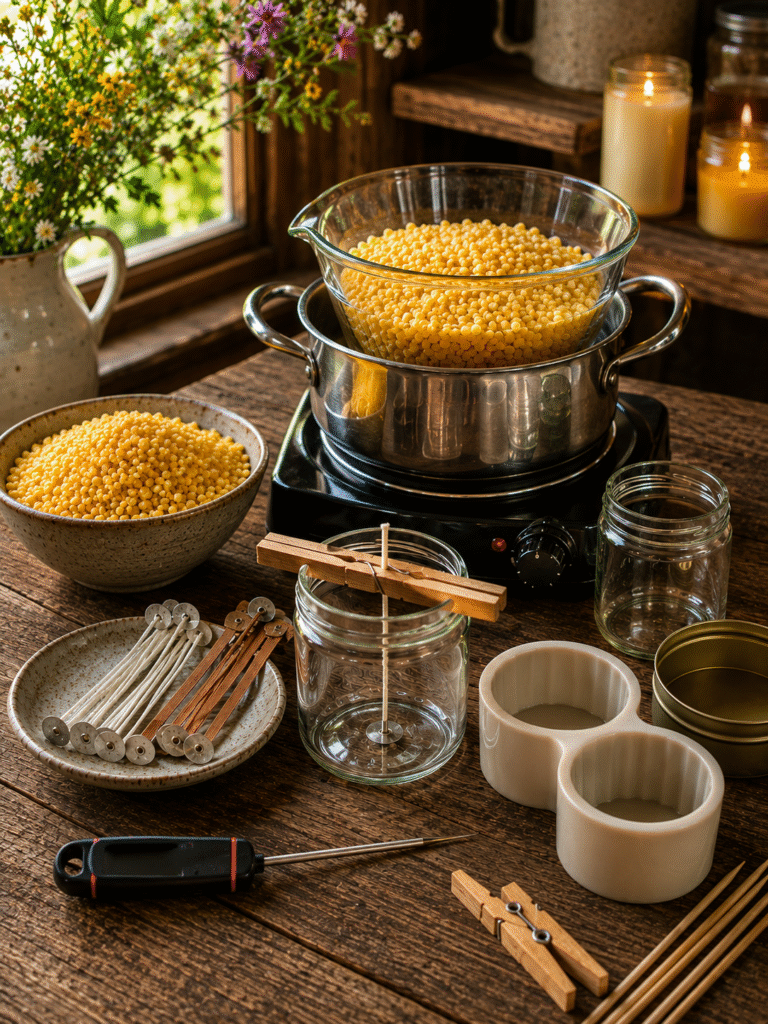
You don’t need specialized equipment to start. Here’s what actually matters:
- Beeswax — a pound is enough for several small candles. Pellets melt faster and more evenly than a solid block, which matters more than people expect on your first attempt.
- A double boiler setup — a heat-safe bowl or pitcher sitting inside a pot of simmering water. Never melt beeswax directly over a burner. It scorches easily and, more seriously, it’s flammable if it gets too hot too fast.
- Wicks with tabs — cotton or wood, sized to your container’s diameter, not guessed at.
- Containers or molds — glass jars, tins, or silicone molds all work. Anything narrower than about three inches in diameter is more forgiving for a beginner.
- A thermometer — this is the one tool people skip that they shouldn’t. Beeswax has a much higher melting point than soy or paraffin, and pouring at the wrong temperature is the root cause of most first-candle failures.
- Something to hold the wick centered — a clothespin balanced across the container rim, or a couple of skewers, works fine.
Sourcing and Cleaning Raw Beeswax
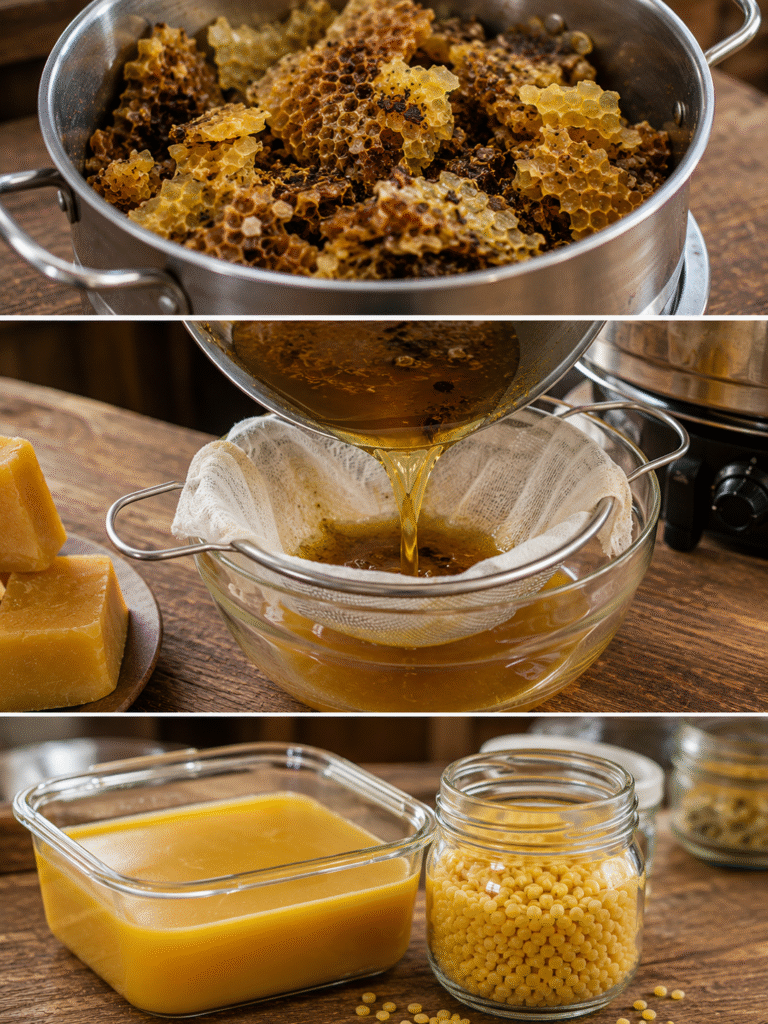
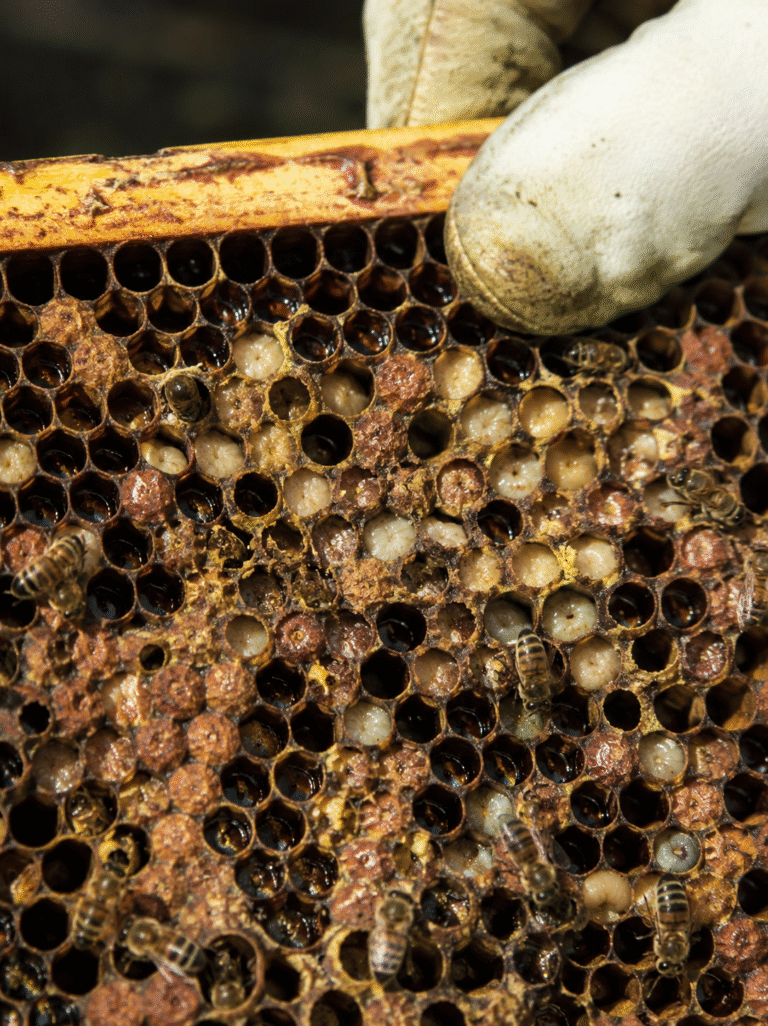
If you keep bees yourself, you already have access to the best material for this — cappings wax, burr comb, and scrapings from old frames. Raw wax straight from the hive carries debris: bits of propolis, dead bees, pollen residue. Don’t skip cleaning it, even if it feels like an extra step you’d rather avoid. Melt it down first, strain it through a fine mesh strainer or a few layers of cheesecloth while it’s still liquid, and let it re-harden before you use it for candles. Debris trapped in a candle doesn’t just look messy — it can interfere with an even burn and occasionally cause the wick to sputter.
If you’re buying beeswax instead, pellets are genuinely worth the slightly higher price over a solid block for your first few candles. They melt faster, more evenly, and you can measure exact quantities by weight far more easily than eyeballing chunks cut from a brick.
The Actual Process
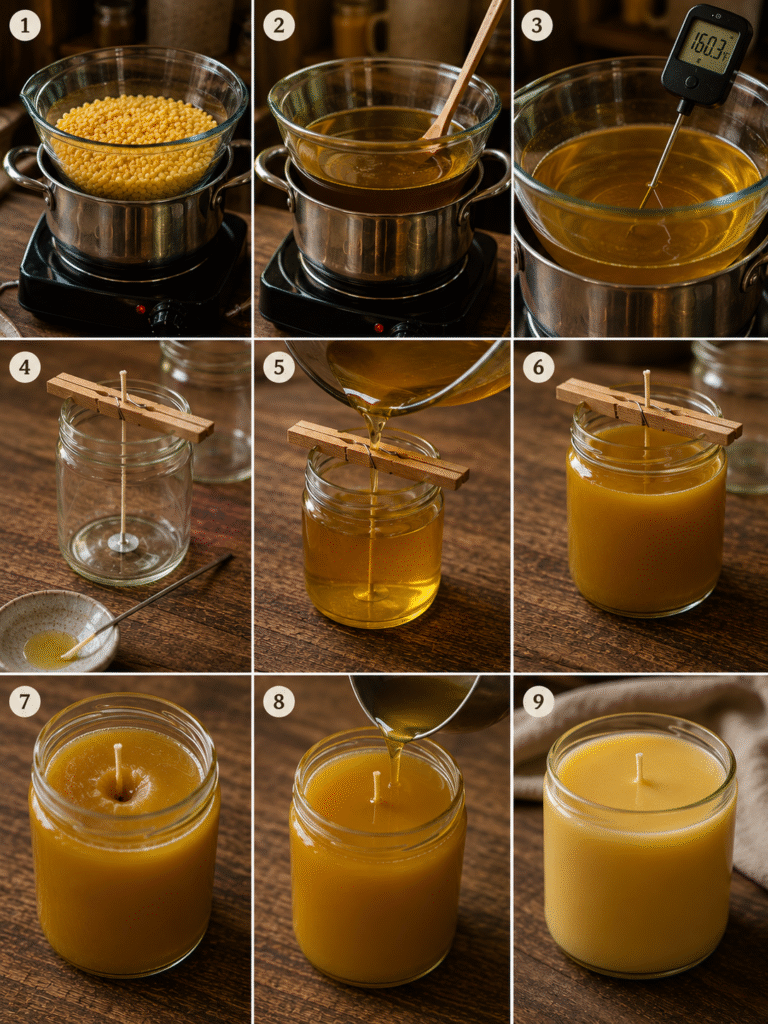
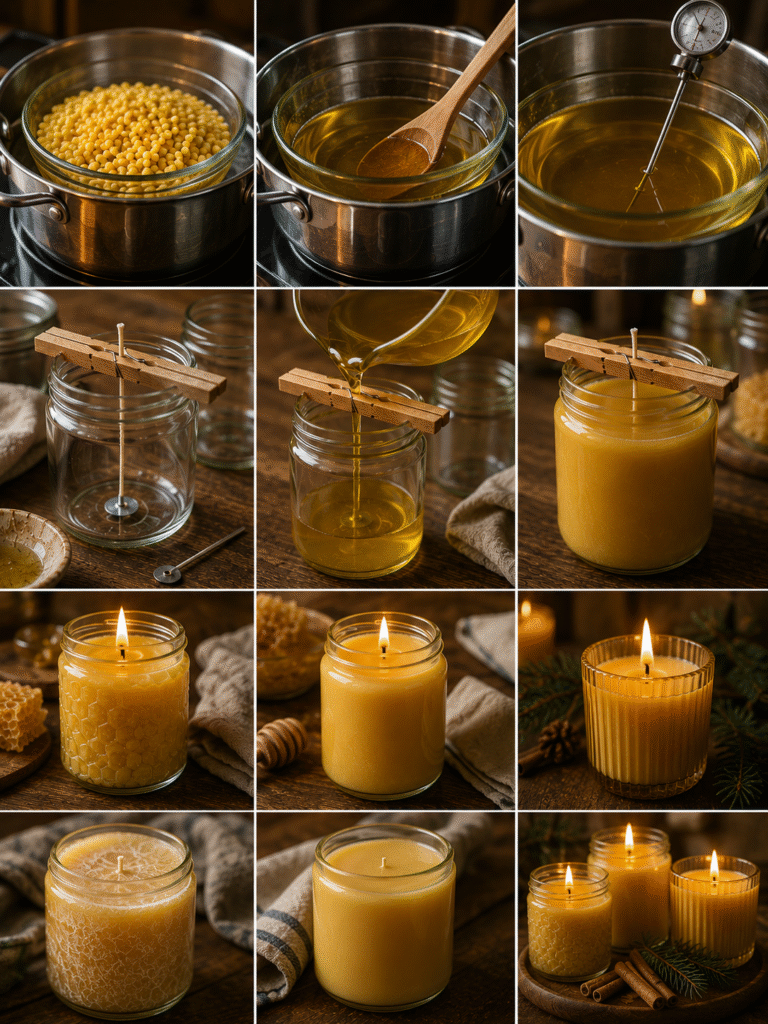
Melt your beeswax gently in the double boiler, stirring occasionally, until it’s fully liquid — this takes longer than you’d expect, sometimes twenty to thirty minutes for a full pound, because beeswax resists melting more stubbornly than softer waxes. While it melts, prepare your container: secure the wick tab to the bottom center using a small dab of melted wax, then use your clothespin-and-skewer setup to hold the wick straight and centered at the top.
Once your wax hits somewhere around 155–165°F, you’re in pouring range. Pour slowly, aiming near the center of the container rather than dumping it in from height, which introduces air bubbles you’ll see later as surface craters. Fill to just below the rim. If you notice small craters or sinkholes forming as it cools — which is normal — top the candle off with a small amount of reheated wax rather than leaving it uneven.
Cooling is where most first attempts go wrong, and it’s exactly where mine did. Let the candle cool slowly, at room temperature, away from drafts, cold windowsills, or anywhere the temperature swings. Rushed cooling is the single most common cause of cracking. Give it several hours minimum before touching it, and don’t move it to a cold spot to “speed things up.” That instinct is the one that cost me my first candle.
Fixing the Problems You’ll Actually Run Into
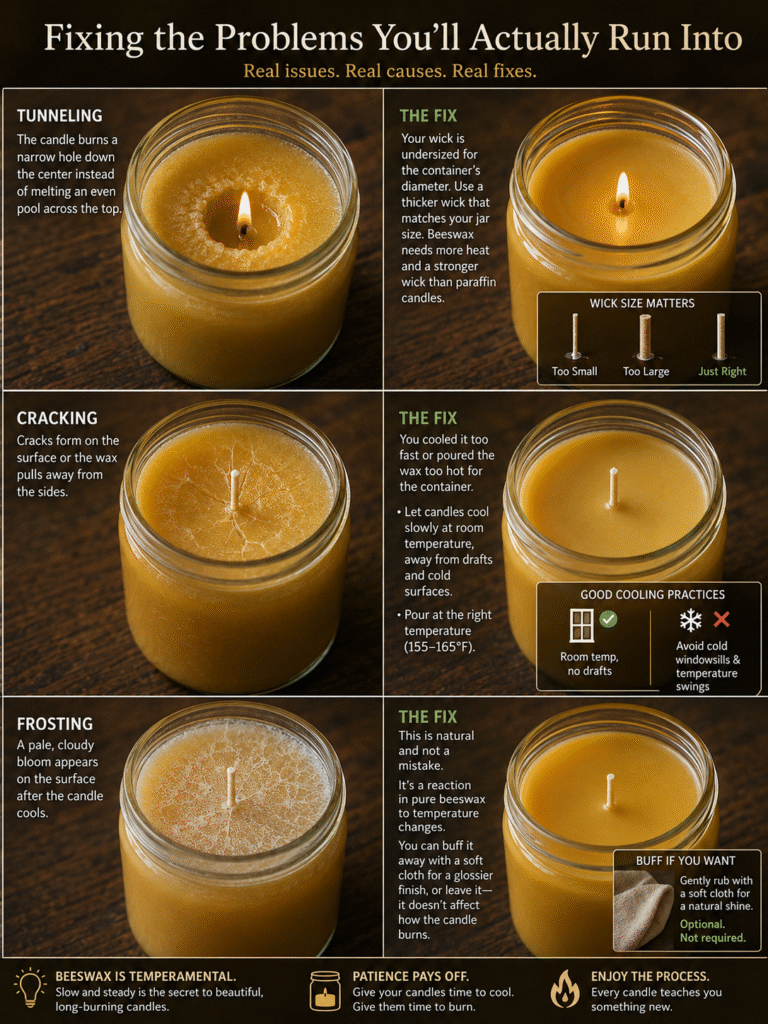
Tunneling — when the candle burns a narrow hole down the center instead of melting an even pool across the top — almost always means your wick is undersized for the container’s diameter. Beeswax needs a thicker, sturdier wick than paraffin candles typically use, precisely because the wax itself is denser and requires more sustained heat to maintain a full melt pool.
Cracking happens from cooling too fast, as I learned the hard way, but it can also happen if your pouring temperature was too hot for the container material — thin glass especially can crack from thermal shock if the wax goes in scalding.
Frosting, the pale, slightly cloudy bloom that sometimes appears on the surface of a cooled beeswax candle, isn’t a mistake at all. It’s a natural characteristic of pure beeswax reacting to temperature changes, and plenty of experienced candle makers consider it a mark of authenticity rather than a flaw. You can gently buff it away with a soft cloth if you want a glossier finish, or leave it — it doesn’t affect how the candle burns.
Scenting Without Losing the Honey Note
Beeswax doesn’t hold added fragrance as readily as soy wax does, which surprises people who’ve only worked with fragrance-heavy candles before. If you want to add essential oils, blend them in once the wax has cooled slightly past pouring temperature — adding fragrance to wax that’s too hot burns off much of the scent before it ever sets. Strong, resilient oils like cedarwood, cinnamon, or peppermint tend to survive the process better than delicate florals, which mostly disappear into the honey undertone rather than layering with it. Personally, I’ve stopped fighting it and started leaning into it — beeswax’s natural scent is good enough on its own that I only add oils occasionally now, mostly for gifting during colder months.
Gifting and Packaging
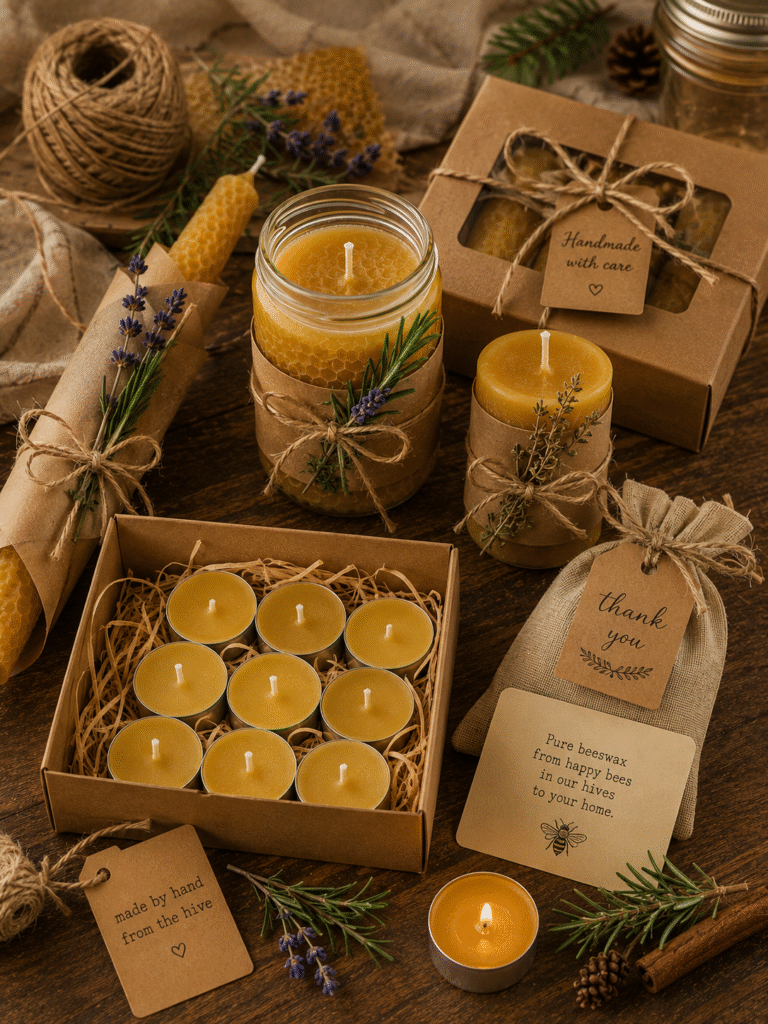
This is where beeswax candles genuinely shine over almost any other homemade gift. A simple taper or votive, wrapped with kraft paper and a sprig of dried herb, communicates more care than most store-bought gifts twice the price. If you’re making a batch to give away, tealights are the most forgiving format for a beginner — they cool faster, use less wax per unit, and are more tolerant of small imperfections than a large pillar candle would be.
FAQ
Is beeswax candle smoke actually safe to breathe?
Beeswax burns with minimal soot and doesn’t release the petroleum byproducts associated with paraffin, making it one of the cleaner-burning candle waxes available, though no burning candle produces literally zero particulates.
How long do beeswax candles burn compared to soy or paraffin?
Beeswax generally burns longer per ounce than either soy or paraffin due to its higher melting point and density, often extending burn time by 20–50% depending on the specific blend and wick size.
Can I add essential oils to beeswax candles?
Yes, but add them once the wax has cooled slightly below pouring temperature, and expect the scent throw to be weaker than soy candles — beeswax doesn’t hold fragrance as strongly.
Why won’t my beeswax hold scent well?
Beeswax’s dense molecular structure doesn’t bind fragrance oils as effectively as soy wax, which is naturally more porous — this is a known characteristic, not a sign you did something wrong.
Does raw yellow beeswax work, or does it need to be bleached white?
Raw, unbleached yellow beeswax works perfectly well and is actually preferred by many candle makers for its natural color and stronger honey scent; bleached white beeswax is purely an aesthetic choice.
How do I fix a tunneling candle?
Increase your wick size for the next batch — tunneling is almost always a sign the wick is too small to maintain a full melt pool across the container’s diameter.