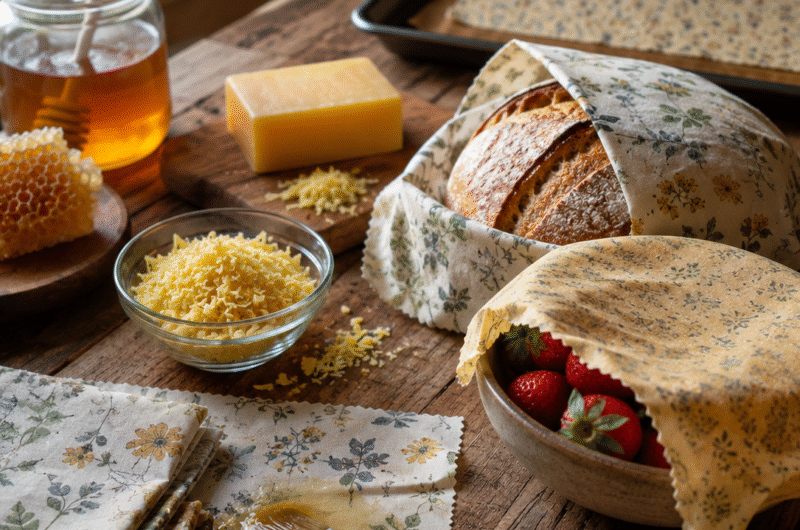

A real beekeeper’s step-by-step guide to making reusable beeswax food wraps at home — fabric, wax ratios, the oven method, and re-waxing tips.
The first batch of beeswax wraps I ever made came out stiff as cardboard and cracked the moment I tried to fold one over a bowl of leftover soup. I’d used too much wax, spread it too thick, and skipped the resin entirely because I didn’t think a kitchen project needed pine sap. It does. Four batches later, working through wax I’d rendered from my own cappings that season, I finally had a wrap that draped, stuck to itself with warm-hand pressure, and actually kept a cut avocado from browning overnight.
To make beeswax wraps at home, you melt a mix of beeswax, jojoba oil, and pine resin onto cotton fabric, then heat it evenly — usually in the oven or with an iron — until the fabric is fully saturated and pliable. The pine resin is what gives a finished wrap its tack, the quality that lets it cling to a bowl edge or fold around a sandwich without tape or a rubber band.
I’m writing this from the perspective of someone who makes these with wax that’s already passed through my hands as a beekeeper — cappings wax scraped off frames at extraction, filtered and rendered before it ever touches fabric. That’s a slightly different starting point than most of the zero-waste tutorials online, most of which assume you’re buying pellets from a craft store. Both routes work. I’ll flag where the source of your wax actually changes the process, because it does, more than most guides admit.
Why I Started Making My Own Beeswax Wraps
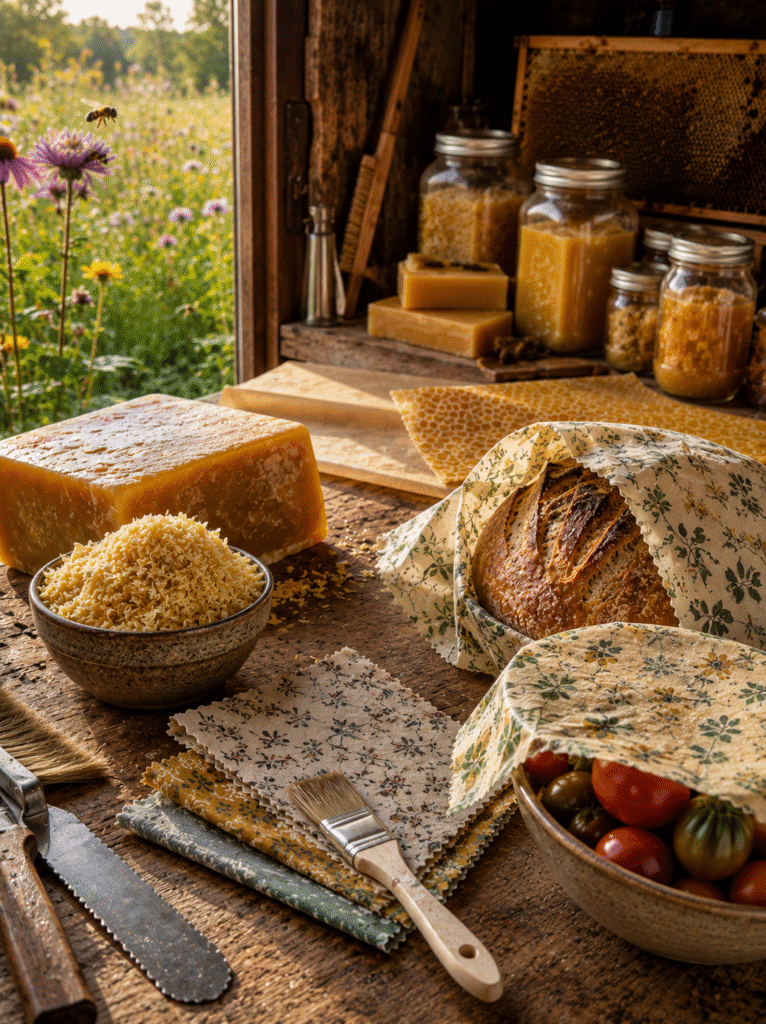
I didn’t start making these for the sustainability angle, honestly, though that’s the reason most people land on this project. For context on why that angle matters to a lot of the people who do land here first: EPA data shows about 4.2 million tons of plastic bags, sacks, and wraps were generated in the U.S. in a single recent reporting year, with only around 10% of that recycled — the rest landfilled or incinerated. I started making my own wraps because I had a surplus of cappings wax after a strong summer flow and nowhere obvious to put it — I’d already made a batch of candles that season and didn’t need another dozen. Wraps turned out to be a better use for the smaller, less-clean batches of wax that aren’t quite candle-grade — a little cloudiness or a faint propolis tint doesn’t matter once it’s melted onto fabric.
There’s a broader point buried in that, one I think about more the longer I keep bees: every jar of honey, block of wax, or wrap of cloth that comes out of a hive is downstream of the mason bees and other pollinators quietly doing unglamorous work in the same yard, and of decisions about how a beekeeper manages that whole small ecosystem — decisions that aren’t always as simple or as universally beneficial as “more hives, more good” once you look closely. Making a wrap doesn’t offset that complexity. It’s just a small, honest use for a byproduct that would otherwise sit in a jar in my garage.
What You’ll Need
- Beeswax (roughly 1 tablespoon grated wax per 8×8-inch fabric square)
- Jojoba oil (about ¼ teaspoon per square — keeps the finished wrap flexible instead of brittle)
- Pine resin, powdered or crushed (roughly half the volume of your beeswax — this is what creates tack)
- 100% cotton fabric, pre-washed, cut to size
- A double boiler or a dedicated melting pot (don’t reuse it for food afterward)
- Parchment paper and a baking sheet, or a clothes iron and scrap paper
- A pastry brush, if you’re going for even, controlled coverage rather than a full-dip method
Choosing and Preparing Your Beeswax
If you’re a beekeeper working with your own cappings wax, render and filter it first — run it through a fine mesh or cheesecloth while still liquid to strip out propolis flecks and bits of comb debris, or your finished wraps will have visible grit and an uneven melt. Craft-store pellets are pre-filtered and more consistent, which is genuinely easier for a first attempt, but they cost more and you lose the connection to a specific hive and season that a lot of people actually want from this project. If you don’t keep bees yourself, most local beekeepers are glad to sell or trade raw wax — it’s usually cheaper than craft-store pellets and gives you a version of this same connection to a real hive.
One thing nobody told me the first time: wax color varies a lot by nectar source and hive age, and that color transfers directly to your fabric. Wax from new comb early in the season tends to run pale gold; wax from older brood comb goes darker, sometimes deep amber. Neither is wrong, but if you’re making a set for someone as a gift and want a consistent look, pull your wax from a single batch rather than mixing cappings collected across different months.
Best Fabric Choices (and What to Avoid)
Tight-weave 100% cotton is the standard for good reason — a lightweight quilting-weight cotton takes the wax evenly and stays flexible once cooled. Avoid anything with synthetic fiber blends; polyester threads don’t absorb wax the same way and tend to leave patchy, unsealed spots that shorten the wrap’s usable life. Loosely woven or heavily textured fabric can look charming but soaks up more wax than it needs, which is exactly the mistake that made my first batch stiff.
Step-by-Step: Making Your First Batch
The Oven Method
This is the method I use for anything larger than a single test square, because it heats evenly across the whole piece of fabric rather than in the small zone an iron covers.
- Preheat the oven to 185°F (85°C) — low and slow prevents scorching the wax.
- Line a baking sheet with parchment paper and lay your fabric square flat on top.
- Grate your beeswax and sprinkle it evenly across the fabric, along with the jojoba oil and crushed pine resin, keeping coverage light rather than heavy.
- Place the sheet in the oven for three to five minutes, just until the wax fully melts and you can see it’s saturated the fabric evenly.
- Remove the sheet, use the pastry brush to spread any pooled wax into thin or missed spots, then lift the fabric by two corners and let it air-dry for about a minute before handling — this is where most people burn their fingers, myself included, more than once.
The Iron Method
Better for small batches or a single test square before committing a whole beeswax stash to the oven method.
- Place your fabric between two sheets of scrap paper on an ironing surface.
- Sprinkle grated wax, oil, and resin over the fabric as above.
- Run a warm iron (no steam) over the top sheet in slow, even passes until you see the wax melting through.
- Peel back the top sheet to check coverage, add more wax to any dry patches, and re-iron.
- Lift and air-dry the same way as the oven method.
Caring For and Re-Waxing Your Wraps
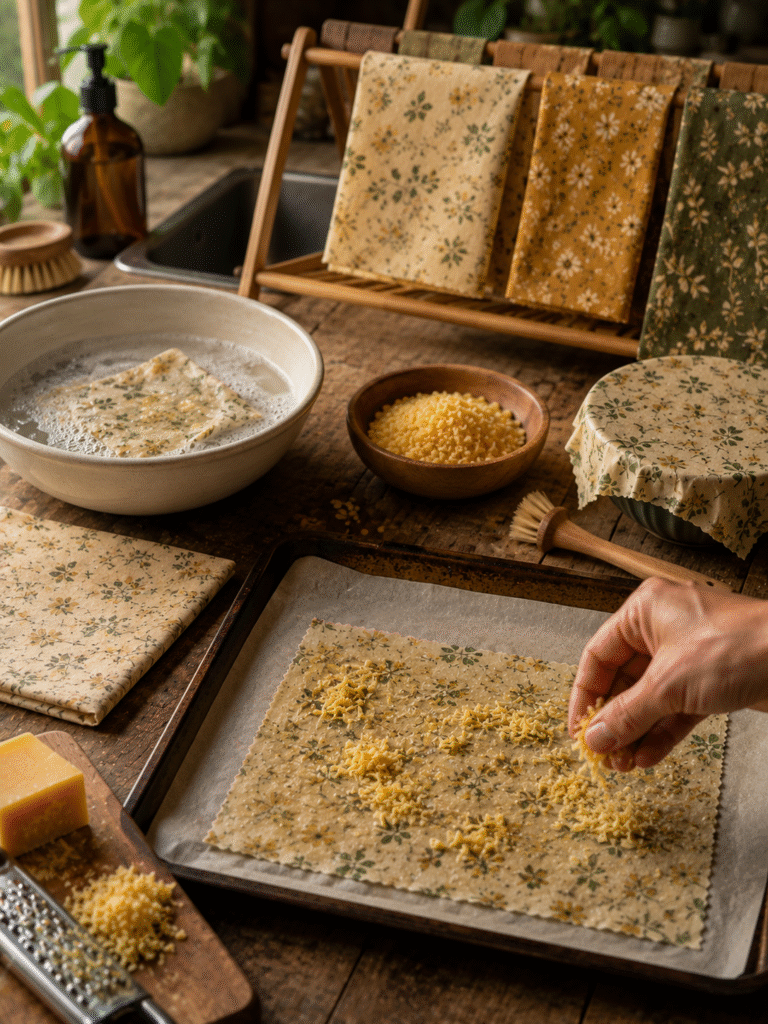
Wash a used wrap in cool water with a small amount of mild dish soap — never hot water, which will melt the coating right off, and never the dishwasher, for the same reason. Air-dry flat or over a rack. A well-made wrap should hold up for six months to a year of regular use before the wax coating starts to thin and the wrap loses its tack.
When that happens, don’t throw it out. Re-waxing is faster than making a wrap from scratch: lay the tired wrap on parchment, sprinkle a light layer of fresh grated wax over any dull or cracked spots, and run it through the oven method again for two to three minutes. I’ve re-waxed the same handful of cotton squares three or four times each over two years, which is a genuinely different lifecycle than a roll of plastic wrap that gets used once and thrown away.
Beeswax Wraps vs. Plastic Wrap: What Actually Changes
| Beeswax Wrap | Plastic Wrap | |
|---|---|---|
| Lifespan | 6–12 months per wrap, refreshable by re-waxing | Single use, then discarded |
| Breathability | Breathable — better for cheese, bread, produce | Airtight — traps moisture, can accelerate spoilage of some foods |
| Food safety | Not recommended for raw meat or very hot foods | Generally used for a wider range of foods, including raw meat |
| End of life | Compostable (fabric + natural wax) | Not compostable, not typically recyclable |
| Upfront effort | Requires making or buying, plus periodic re-waxing | Buy and use, no maintenance |
The honest tradeoff: beeswax wraps aren’t a universal plastic-wrap replacement. They breathe, which is genuinely better for a wedge of cheese or a half an onion but genuinely worse for anything you need fully sealed and airtight, like raw meat marinating overnight. The University of California’s Master Food Preservers program backs this up directly, noting that beeswax wraps aren’t recommended for raw meat or hot items specifically because the heat involved can melt the wax coating — which lines up exactly with what I’ve found the hard way, more than once, pulling a warm wrap off a container only to find it’s gone soft and lost its seal. I keep both plastic wrap and beeswax wraps in my kitchen and reach for whichever actually fits the food in front of me, rather than treating the wrap as a moral upgrade in every situation.
Common Mistakes First-Timers Make
- Too much wax: the single most common failure. A thick, opaque wax layer makes a stiff, crackable wrap instead of a pliable one. Less is genuinely more here.
- Skipping the resin: wax alone melts smooth but doesn’t stick to itself, which means your finished wrap won’t hold a fold or seal around a bowl.
- Using hot water to wash: even briefly, this melts and strips the coating, sometimes after just one wash.
- Uneven heat during the melt: cold spots leave dry patches of fabric that fray and let food odors and moisture through faster than the rest of the wrap.
The Bottom Line
A well-made beeswax wrap costs very little beyond wax you may already have on hand, lasts closer to a year than a single use, and turns out to be one of the more satisfying small projects to come out of an active hive. Start with one test square using the iron method before committing a full batch of wax to the oven — you’ll dial in your own ratio of wax to resin faster by fixing one mistake at a time than by following any ratio, mine included, exactly to the gram.
FAQ
How do you make beeswax wraps at home? You melt a mix of beeswax, jojoba oil, and pine resin evenly onto pre-cut cotton fabric — most commonly using a low oven or a warm iron — until the fabric is fully and evenly saturated. Once cooled for about a minute, the fabric becomes a flexible, tacky wrap.
What kind of fabric works best for beeswax wraps? Tight-weave, 100% cotton fabric works best, since it absorbs wax evenly and stays flexible once cooled. Avoid synthetic blends, which don’t take wax the same way and tend to leave unsealed, patchy spots.
Do you need pine resin to make beeswax wraps stick? Yes — pine resin is what gives a finished wrap its tack, the quality that lets it cling to a bowl or fold around food without tape. Wax alone melts smooth onto fabric but won’t hold a seal on its own.
How long do homemade beeswax wraps last? A well-made wrap typically lasts six months to a year with regular use before the wax coating thins and loses its stick. At that point, it can usually be re-waxed rather than replaced.
Can you wash and reuse beeswax wraps? Yes, using cool water and a small amount of mild dish soap, then air-drying flat. Hot water or the dishwasher will melt and strip the wax coating, sometimes after just one wash.
Is beeswax wrap safe for all foods? Not entirely — beeswax wraps are breathable, which makes them a poor choice for raw meat or foods that need a fully airtight seal, but a genuinely good choice for cheese, bread, and produce that benefit from some airflow.
How do you re-wax a beeswax wrap that’s lost its stick? Lay the wrap flat, sprinkle a light layer of fresh grated wax over any dull or cracked areas, and run it through the same oven method used to make it originally, for two to three minutes. This restores tack without needing new fabric.